Independent MapQuest feature guide
MapQuest Street View: Check Destinations Before You Go
MapQuest Street View is a search phrase used by travelers who want to see a destination before arriving, not simply calculate a route. Street-level imagery can help you recognize a corner, driveway, storefront, parking entrance, or neighborhood approach. It is not a guarantee that every street has current coverage, and an image cannot replace posted signs or a venue’s instructions. This independent guide explains how to use street-level views for orientation, how to judge image age and access, and how to protect privacy while planning. Check the current official map experience because feature names and coverage can change. Review the MapQuest Street View details before you choose a route.

- Best for
- Destination recognition, entrances, driveways, and final-mile orientation
- Inspect
- Corner geometry, signs, curb cuts, parking access, and landmarks
- Limit
- Imagery may be dated, incomplete, blurred, or unavailable
- Final authority
- Current signs, property instructions, and local conditions
What a MapQuest Street View search is trying to solve
Many navigation problems happen after the broad route is already correct. A visitor sees the right street but cannot tell which driveway enters a medical campus. A delivery driver finds a building number but not the receiving gate. A traveler walking from a station is unsure which corner has the accessible entrance. Street-level imagery can reduce that uncertainty by showing the visual cues that a list of turns cannot describe: a distinctive façade, a traffic island, a side street, a sign, or the position of a curb. For background, read Street View on Wikipedia when you need context beyond this planning guide.
Use the imagery as a preview, not as a live camera. A picture may have been captured months or years before the trip, and construction, businesses, landscaping, traffic patterns, and access rules may have changed. The image can help you recognize a place while still requiring a current route review. If the image and the current venue instructions disagree, prioritize the venue, posted signs, transportation alerts, and a safe on-site decision.
How to inspect a destination with street-level imagery
Begin with the complete address and confirm that the pin is attached to the correct property. Move outward from the destination to understand the last two or three turns, then look at both sides of the street. Note whether the destination is on a one-way road, behind a frontage road, beside a median, or inside a complex with several driveways. For pedestrians, follow the sidewalk line and look for crossings, stairs, ramps, and the side of the block where the public entrance is likely to be. For broader route planning, visit MapQuest Driving Directions on the homepage after reviewing this MapQuest Street View guide.
Capture only the observations that help you travel: a building color, a corner name, a driveway shape, a nearby park, or the position of a bus stop. Do not treat private people, vehicles, or homes as landmarks to investigate. If you are meeting someone, choose a public, well-defined point instead of relying on a personal residence or a temporary vehicle. The purpose of a street view is orientation and confidence, not surveillance.
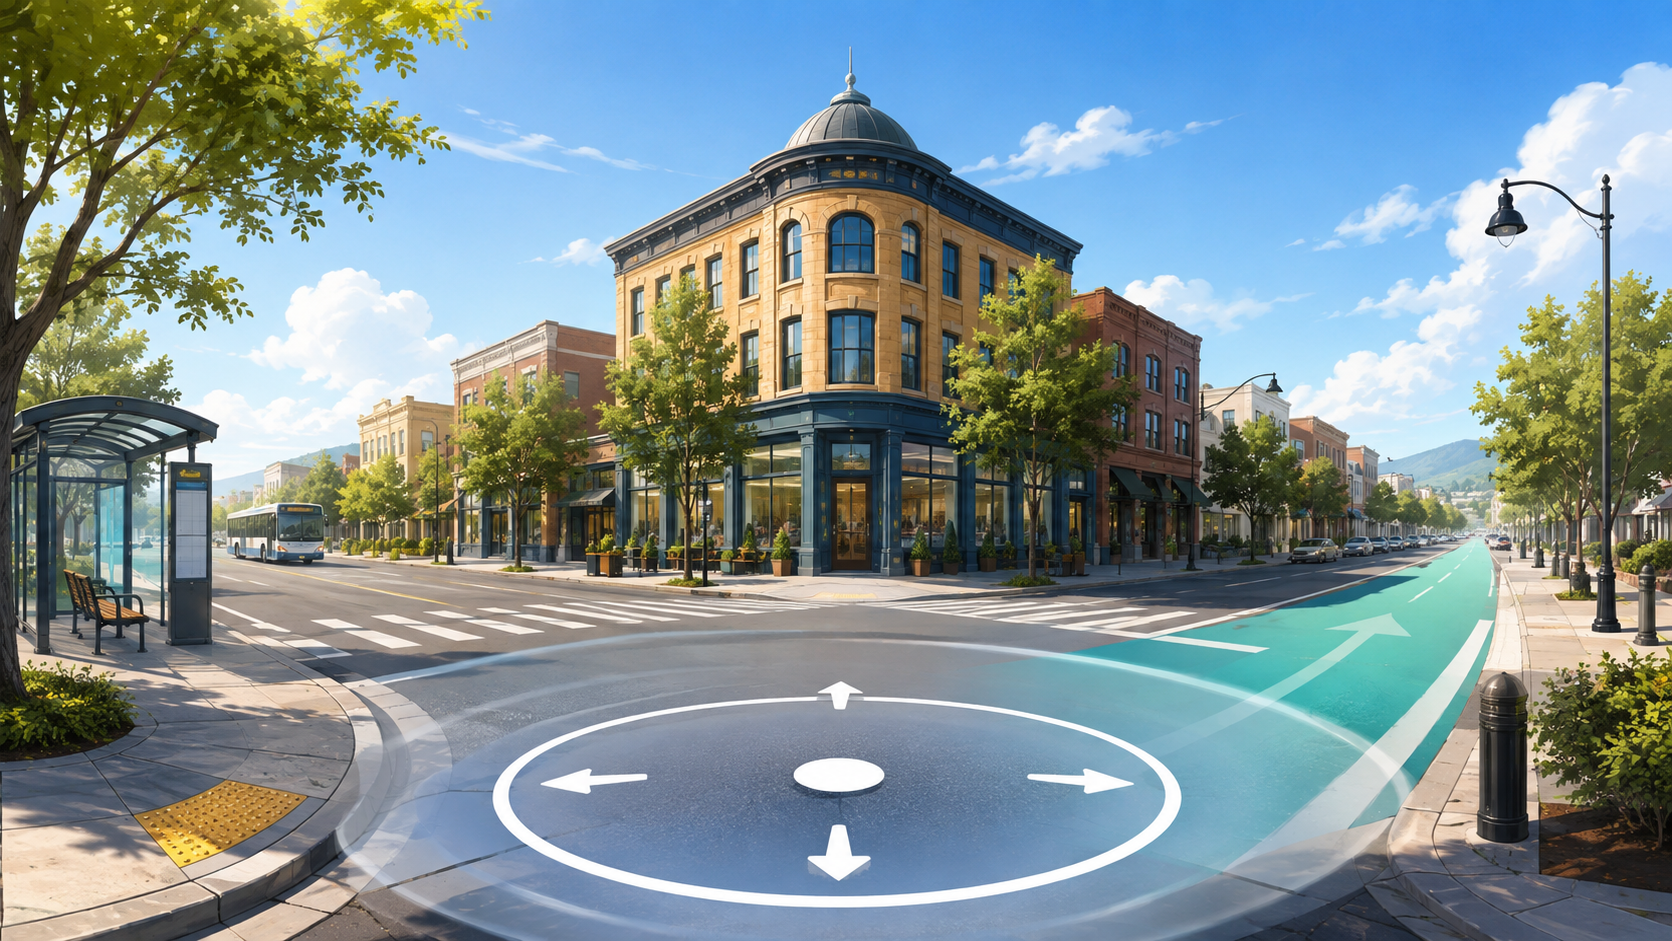
Recognize the final approach
Large properties create the most value for a street-level preview. Hospitals may have emergency, visitor, and clinic entrances on different roads. Airports divide terminals, rental returns, and passenger drop-offs. Campuses use internal roads and parking zones that may not match the mailing address. Warehouses can separate visitor parking from commercial receiving. Compare the map pin with the destination’s official arrival instructions and identify the entrance that matches the appointment or task.
For a walking trip, inspect the point where the vehicle route ends and the pedestrian route begins. A parking garage, transit station, or event perimeter can make the final block longer than expected. For a drive, check whether the approach requires a legal turn or a loop around a median. If the imagery shows a temporary-looking barrier, road work, or an ambiguous driveway, avoid guessing. Plan a safe place to pull over and verify the route before making a change.
- Confirm the street address and property before interpreting the image.
- Check the last turns, both sides of the street, and the correct driveway or entrance.
- Use public landmarks rather than private people, vehicles, or residences.
- Treat image age and temporary construction as sources of uncertainty.
Street-level imagery, privacy, and accessibility
Public street imagery is designed to show places, but it can contain homes, vehicles, faces, and other details that are blurred or incomplete. Do not use it to identify a private person, infer occupancy, or document sensitive routines. When sharing directions, send the destination and public entrance rather than screenshots that expose unrelated homes or personal information. A practical route plan can be specific without being invasive.
Accessibility also requires current confirmation. An image may show a ramp but not its slope, a closed elevator, a locked gate, uneven pavement, or a temporary obstruction. Ask the destination or transit provider about accessible arrival, drop-off, parking, and entry. Use imagery to understand the physical setting, then build an alternate approach in case the visible route is unavailable. The most useful preview anticipates uncertainty rather than hiding it.
When a street view is missing or outdated
Coverage may be unavailable on a private road, new development, trail, restricted campus, or rural segment. A panorama may also stop before the exact destination. In those cases, use the official venue map, public planning documents, current photos supplied by the destination, transit diagrams, or a phone call to confirm arrival details. Aerial imagery can explain the property shape, while a written instruction can establish which gate is open.
If the page loads an image that clearly predates a new building, road redesign, or business change, do not force the image to fit the current trip. Record the uncertainty and leave extra time for the approach. You can still use the surrounding road pattern for orientation, but rely on current road signs and local judgment at the final turn. Street-level tools are excellent for recognition; they are not a substitute for a current access decision.
How to use this MapQuest Street View planning guide
- Enter the complete address and confirm that the pin belongs to the intended property.
- Inspect the final two or three turns, the street sides, driveways, medians, and public entrances.
- Compare the imagery with current venue or transit instructions and note possible changes.
- Use public landmarks for orientation and avoid sharing unrelated private details.
- Check accessibility, parking, drop-off, lighting, and construction with current sources.
- Leave a safe margin for an outdated view and follow posted signs when you arrive.
Questions about MapQuest Street View
Does MapQuest Street View show every destination?
Coverage and feature availability vary by location and can change. Private roads, new developments, restricted campuses, and some rural areas may have limited or no street-level imagery.
How current is street-level imagery?
The capture date can vary, and an image may not reflect current construction, businesses, signs, entrances, or access rules. Use it for orientation and confirm important details through current official sources.
Can street view help me find a building entrance?
It can reveal useful visual cues such as a façade, driveway, corner, or curb, especially for large properties. Match those cues to the venue’s current arrival instructions before traveling.
Is street-level imagery enough for an accessible route?
No. It may not show grade, surface quality, temporary barriers, elevator status, or a usable entrance. Confirm current accessibility with the destination or transportation provider.