MapQuest feature guide
mapquest surveillance layer feature
A practical look at what the new camera overlay shows, how to use it, and why a map marker is only one piece of the picture.
The mapquest surveillance layer feature puts known roadside camera locations on a map you may already use for directions. It is easy to confuse those markers with speed cameras, live traffic video, or a complete list of every camera near a route. They are none of those things by definition. MapQuest describes its overlay as showing known license plate readers from several manufacturers and other outdoor surveillance cameras. For someone researching mapquest surveillance cameras, the useful starting point is to understand what the symbols represent before deciding what to do with the information.
MapQuest announced the layer in October 2026 and directed users to Map Options to switch it on. Its announcement names Flock Safety, Motorola Solutions (Vigilant), Genetec, Axis Communications, Axon, Leonardo (ELSAG), Neology, Rekor, PlateSmart, Ubicquia, and Verkada among the makers represented. That list explains why searching for only one camera brand may miss the point: the layer is meant to display different kinds of known roadside equipment. You can read the MapQuest announcement for its own description of the feature.
The mapquest surveillance layer feature is an optional map overlay, not a different route planner. Your map can still show streets, a destination, and other available layers while the camera markers add context. For mapquest surveillance cameras, think of the display as a location reference: a symbol says that a camera or reader has been identified there. It does not open a live stream, show what a device recorded, tell you who has access to a recording, or confirm that the equipment is active right now.
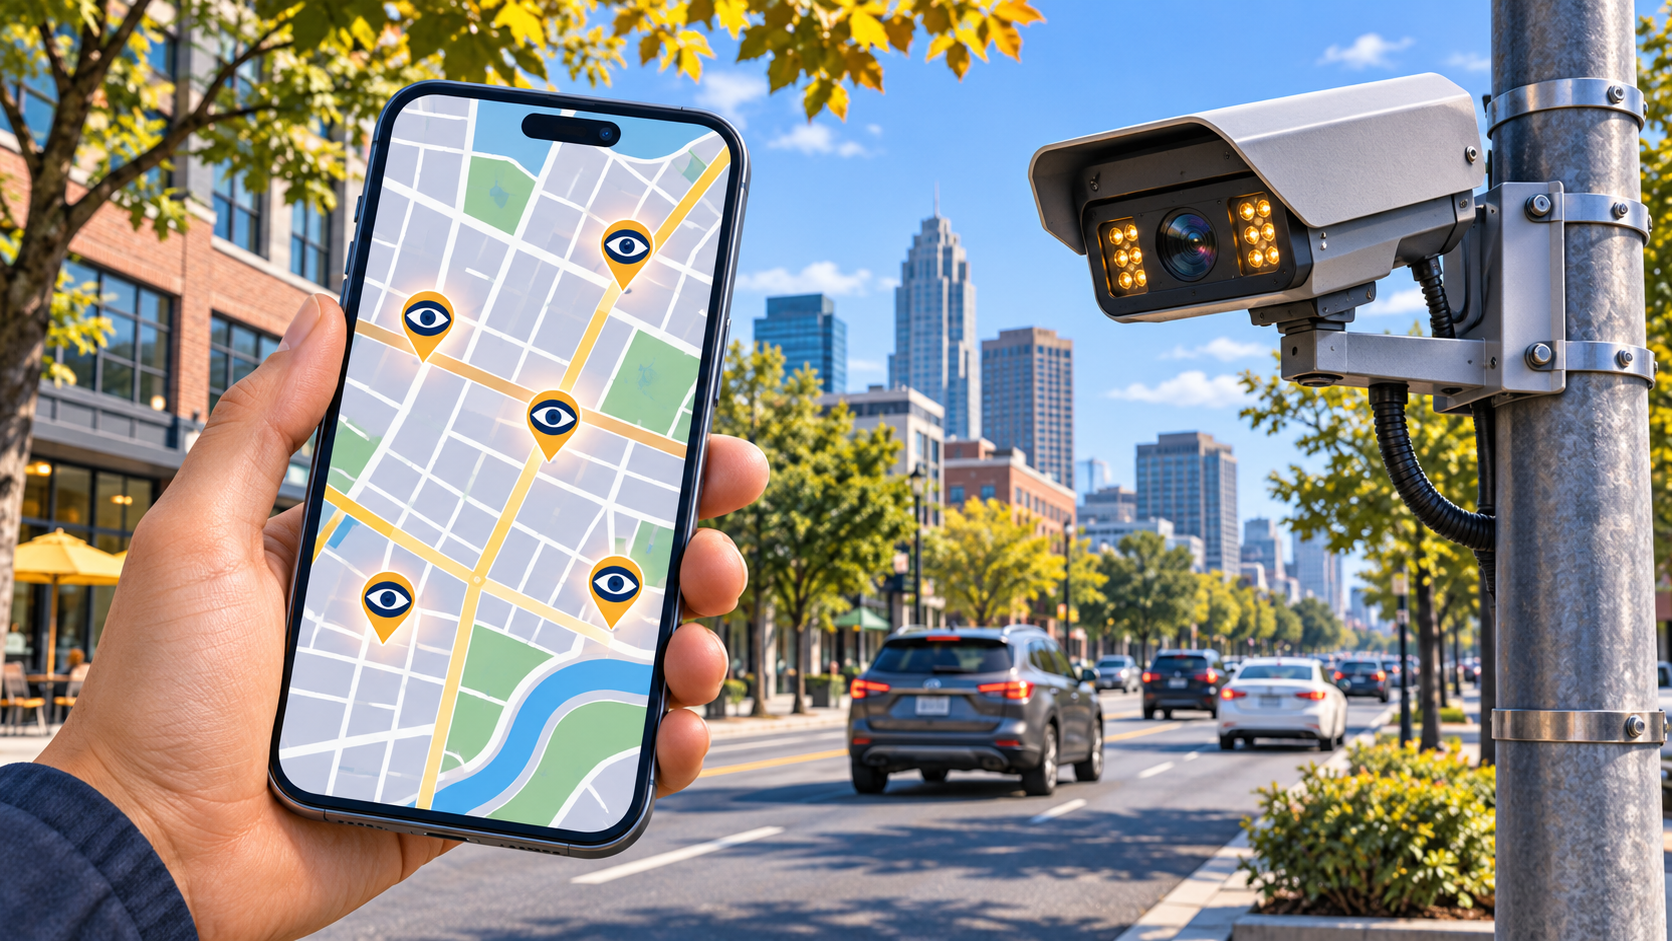
How to find the camera layer in the app
Open the current MapQuest mobile app and bring up its map. Look for Map Options or the layers control, then choose Surveillance if that option appears. You can zoom into a neighborhood or follow a planned route and inspect the markers in context. If the menu does not include it, check for an app update and try again; interface labels and availability can vary by version and platform. The most reliable instruction is MapQuest's own: enable the Surveillance Layer in Map Options. Do not assume the website has an identical control just because the mobile app does.
When using the mapquest surveillance layer feature, scan a wider area before zooming in. Clusters of symbols can be hard to read at a small scale, and one marker may appear closer to an intersection than the physical device really is. Tapping a marker may reveal details when available, but the amount of detail is not guaranteed to be the same at every location. If you are comparing mapquest surveillance cameras around a planned trip, look at the broader route first and then inspect individual roads. Keep your attention on the road if you are already driving; map exploration belongs before departure or with a passenger.
Traffic and surveillance layers answer different questions. A traffic layer helps you see congestion or incidents; a camera layer indicates known monitoring equipment. A red traffic segment is not a camera marker, and a camera marker does not mean the road is slow. If both overlays are enabled, read each icon and legend separately. This is especially useful near large interchanges, where several kinds of map information can overlap. MapQuest's traffic help page describes the traffic options so you can tell them apart.
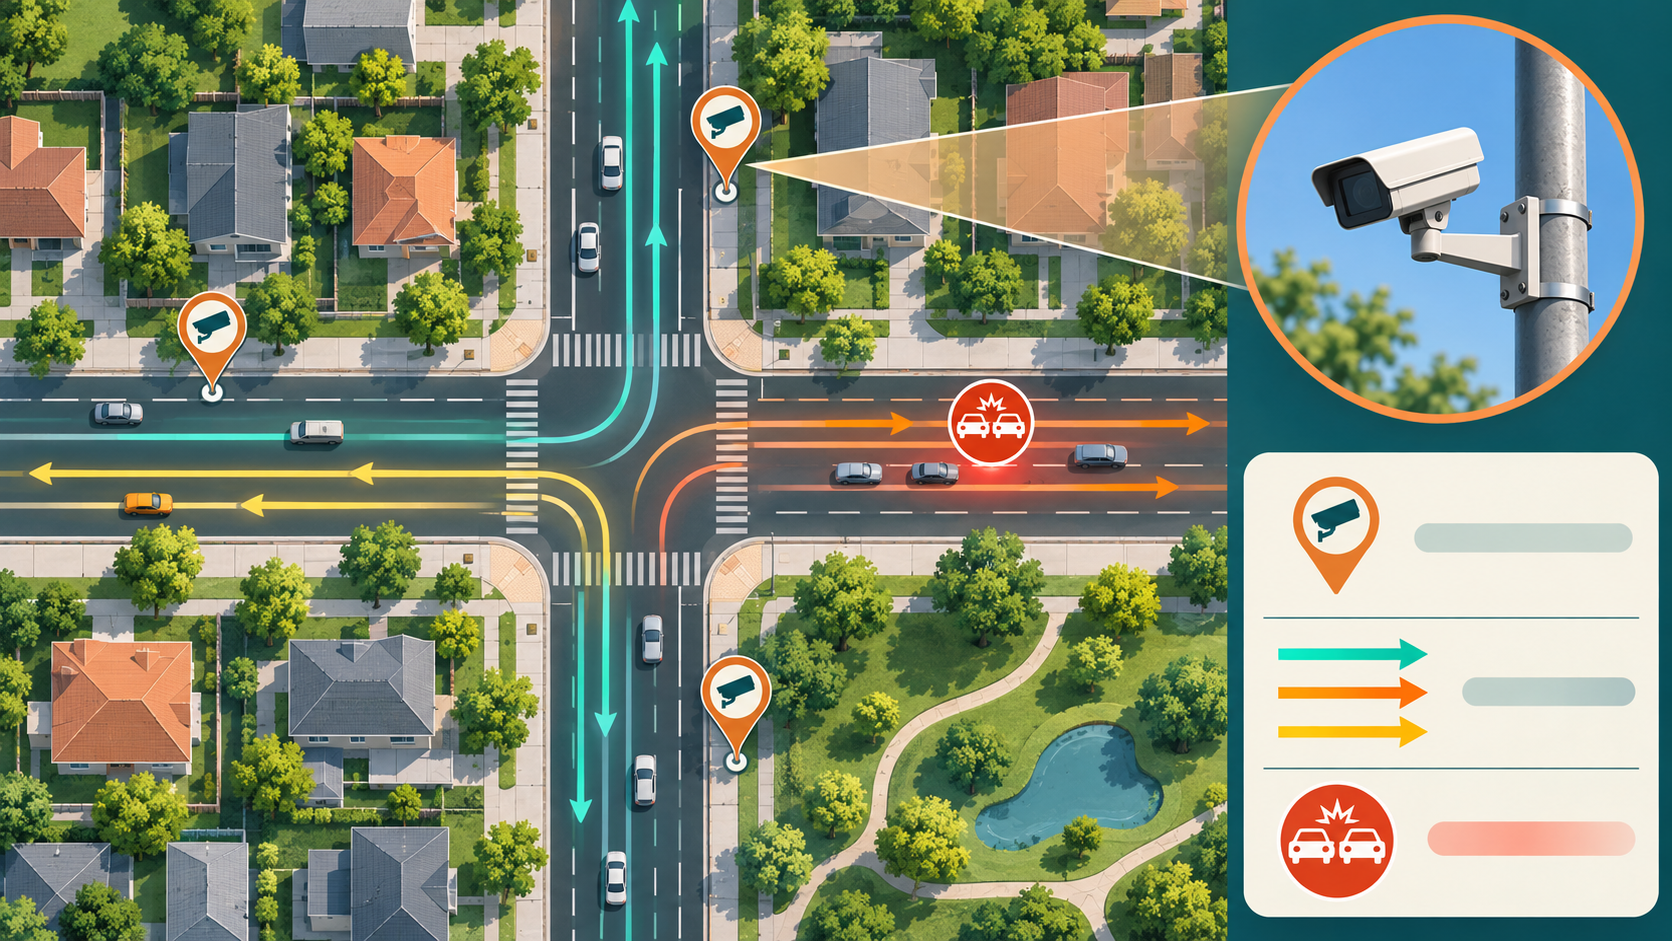
What the markers can and cannot establish
A license plate reader is designed to capture vehicle identifying information as traffic passes. Other outdoor cameras can serve different purposes, and a map icon alone does not reveal the operator, recording policy, or camera model. The mapquest surveillance layer feature groups known locations into a useful visual view, but it cannot answer every question about any particular device. MapQuest has not published a completeness guarantee for every street, city, or manufacturer. A blank stretch of map should therefore be read as “no marker shown here,” not as proof that no camera exists.
Location information may also age. Devices can be installed, removed, moved, or temporarily out of service, and the source records behind a map can change later than the physical street. A marker close to a junction is not always enough to tell which approach the device faces. If you need to establish a particular installation for a research project, confirm it with a current local source or direct observation from a safe, lawful place. Treat mapquest surveillance cameras as a discovery aid rather than an audited inventory or a substitute for official records.
There is a meaningful difference between seeing a camera on a map and accessing footage. The overlay offers locations; it does not give users control over a camera, a way to watch people, or access to license plate records. Similarly, it should not be used to infer that every driver passing a marker has been identified or that all camera data is shared. Those are questions about particular devices and operators. The mapquest surveillance layer feature makes monitoring infrastructure more visible while leaving these operational details outside the map.
A sensible way to use the information
Before a trip, enter your destination, review the route, and use the surveillance overlay if you want to understand which known camera locations appear nearby. You can compare that context with ordinary travel concerns such as road closures, traffic, weather, and arrival time. For general route planning on this site, start with MapQuest Driving Directions. The camera layer is best treated as an extra piece of context, not a promise that a different road will be free of cameras or a reason to make an unsafe maneuver.
The privacy question is broader than a single app setting. Some people want to know where license plate readers are concentrated in their community; others are interested in the public policies governing their installation. A map can help frame those questions, but answers about retention, access, and oversight need evidence from the responsible agency or camera operator. When discussing mapquest surveillance cameras with neighbors or officials, separate what the map displays from what you have independently verified. That distinction keeps the conversation accurate and useful.
If you came looking for the mapquest surveillance layer feature, the short answer is straightforward: open Map Options in the MapQuest mobile app and enable Surveillance to view known readers and outdoor cameras. Then read the markers as leads rather than certainties. The strongest use of the layer is awareness: it lets you see information that is otherwise easy to overlook while preserving the need to check sources when a precise claim matters. You can revisit this mapquest surveillance layer feature guide when you need a quick refresher.
Frequently asked questions
What does the MapQuest Surveillance Layer show?
It displays map markers for known license plate readers and other outdoor surveillance cameras. A marker is a location reference, not a live video feed or proof that a device is currently operating.
How do I turn on surveillance cameras in MapQuest?
In the MapQuest mobile app, open Map Options or the map layers control and enable Surveillance. Update the app if the option is missing, and check whether it is available in your version and region.
Does MapQuest show every camera on a route?
No complete coverage guarantee has been published. Treat the displayed locations as known entries that may change or be absent, and never assume an unmarked road has no cameras.